
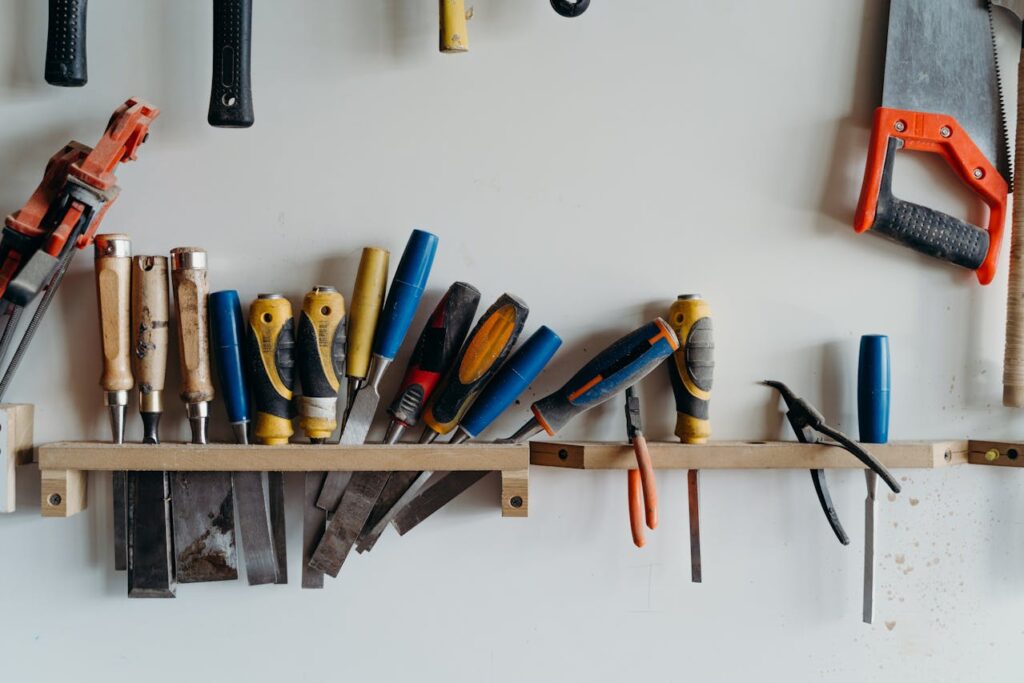
Fixing things around the house can feel pretty satisfying. When your fridge stops cooling or your dryer won’t spin, you might want to roll up your sleeves and get to work. That’s a great attitude!
But before you grab your tools, it’s important to know that small mistakes can lead to big problems—especially when it comes to appliances.
This posts looks at the most common appliance repair mistakes to avoid and what you can do when you do encounter them. With a little guidance, you can save time, money, and maybe even your appliances.
Key Takeaways
- Always unplug first – Before touching anything, make sure the appliance is unplugged. It’s a simple step that keeps you safe from electric shock.
- Don’t skip the manual – The owner’s manual has important instructions and warnings. Think of it like a treasure map for fixing your appliance the right way.
- Use the right tools – Using a butter knife instead of a screwdriver might sound clever, but it can cause damage. The right tool makes the job easier and safer.
- Know your limits – If something feels too confusing or dangerous, call a pro. There’s no shame in asking for expert help—it can save you money in the long run.
- Double-check your work – After fixing something, test it carefully. Make sure everything is reconnected and working as it should. A quick check can prevent future problems.
Why DIY Appliance Repair Goes Wrong So Often
Trying to fix your own appliance can feel like a great idea. You’re saving money, learning something new, and avoiding a long wait for a repair person. But even with the best intentions, things don’t always go as planned.
Here’s why:
1. People guess instead of diagnose.
Let’s say your washing machine stops spinning. Some folks might think, “Ah, the belt must be broken!” and jump right in. But the problem could be something totally different—like a faulty lid switch or a motor issue. Guessing is kind of like throwing darts with your eyes closed. You might hit the target… or you might just damage something else.
2. Hidden parts can surprise you.
Many appliances have parts you can’t see right away. Wires, sensors, tiny screws—they’re all tucked away inside. If you open something up without knowing where these parts are, it’s easy to break them or hurt yourself. It’s like trying to take apart a clock without knowing where the gears are.
3. Online advice isn’t always accurate.
There are lots of videos and blogs out there that show you how to fix things. Some are helpful. Others? Not so much. Every appliance model is a little different, and advice that works for one might not work for another. So, what looks like a simple five-minute fix could turn into a two-hour puzzle.
4. Safety steps get skipped.
This is a big one. Some folks forget to unplug the appliance. Others might work too fast and accidentally cut themselves on sharp metal edges. When you’re rushing or unsure, it’s easy to miss small safety steps—and those are the ones that matter most.
Bottom line: Most repair jobs go wrong not because people don’t care, but because they didn’t know what they were getting into.
Do You Really Understand the Appliance You’re Repairing?
Before you grab a screwdriver, it’s good to stop and ask yourself one simple question:
“Do I really know how this machine works?”
Understanding the basics of your appliance makes a huge difference. If you don’t know what each part does, it’s kind of like trying to fix a car without knowing what the engine is. You might get lucky, but you probably won’t get far.
Before you start fixing, it’s important to know your appliance well. Visualize trying to fix a bicycle without knowing how the pedals or brakes work. It’s hard, right? The same goes for appliances.
Each appliance has parts that do special jobs. For example, a washing machine has a drum that spins and a pump that moves water. If you don’t know what each part does, you might try to fix the wrong thing.
Reading the manual is one of the best ways to understand your appliance. It’s basically a guidebook that tells you how the machine works, what each button does, and how to keep it safe.
If you can, watch videos or ask someone who knows about appliances. Learning a little before you start can make a big difference.
The better you understand, the better your repair will be—and you’ll feel more confident too!
But even with good knowledge, it’s still easy to slip up. That’s why it helps to know what common mistakes people make when doing repairs.
Now, let’s move onto the most common appliance repair mistakes to avoid—and how to stay clear of them.
Most Common Appliance Repair Mistakes to Avoid
When something breaks in your home, it’s easy to want to fix it right away. That’s great! But before you grab your toolbox, it’s important to know what not to do.
Whether you’re a first-time fixer or just brushing up your skills, knowing what to avoid is just as important as knowing what to do.
Let’s walk through 14 of the most common appliance repair mistakes to avoid and how to steer clear of them.
1. Forgetting to Unplug the Appliance First
This one might seem obvious, but it’s the number one rule for a reason. Before you do anything—anything—make sure the appliance is unplugged. Electricity can be dangerous. Even a quick zap can cause injury.
Just picture trying to fix a refrigerator while it’s still plugged in. Not only is it unsafe, but you could damage the electronics, too. Think of unplugging like putting on a helmet before riding a bike—it’s your first step to staying safe.
- Always unplug the appliance before opening or handling any parts.
- If the plug is hard to reach, turn off the power at the breaker box.
- Double-check with a voltage tester if you’re unsure the power is off.
- Treat all wires as “live” until you confirm they’re safe.
2. Ignoring Unusual Noises or Burning Smells
If your washer sounds like it’s trying to take off like a rocket, or your dishwasher smells like something’s burning, don’t just turn up the TV and hope it goes away. Strange sounds and smells are signs that something’s wrong.
It could be a clog, a loose belt, or even a motor overheating. Listening to your appliances is like listening to your car—when something sounds off, it probably is. Catching the problem early can save you money and stress.
- Stop the appliance right away if you hear grinding, squealing, or buzzing.
- Check for visible signs of overheating, like smoke or a burnt smell.
- Don’t restart the appliance until you find the cause.
- Use your senses—sound and smell are early warning signs!
3. Replacing Parts Without Checking Fuses
Before you buy a brand-new part, take a minute to check the fuses. Many appliances have small, simple fuses that protect the machine from power surges. If a fuse has blown, it might be the only thing stopping your appliance from working.
This is a common mistake for a homeowner trying to fix things quickly. You might think the whole control panel is broken, when really, it’s just a tiny fuse! Start simple before moving to big repairs.
- Look for a fuse box or circuit board inside the appliance first.
- Replace blown fuses with ones of the exact same type and rating.
- A blown fuse might be the only issue—check before buying new parts.
- Keep spare fuses on hand for quick and easy checks.
4. Forcing Components That Don’t Align Properly
If a part doesn’t fit, don’t push harder. Machines are built to fit together in a specific way. Forcing a part into place can bend or break something important—similar to trying to jam the wrong puzzle piece where it doesn’t belong.
Say you’re replacing a coil on the back of your fridge. If it doesn’t slide in easily, stop and double-check the instructions. Take your time. A little patience can save you from making things worse.
- Never force a part to fit—it should slide or click into place naturally.
- Double-check the model number to be sure you have the right part.
- Look at how the old part was installed before removing it.
- Take photos during disassembly so you can match it back later.
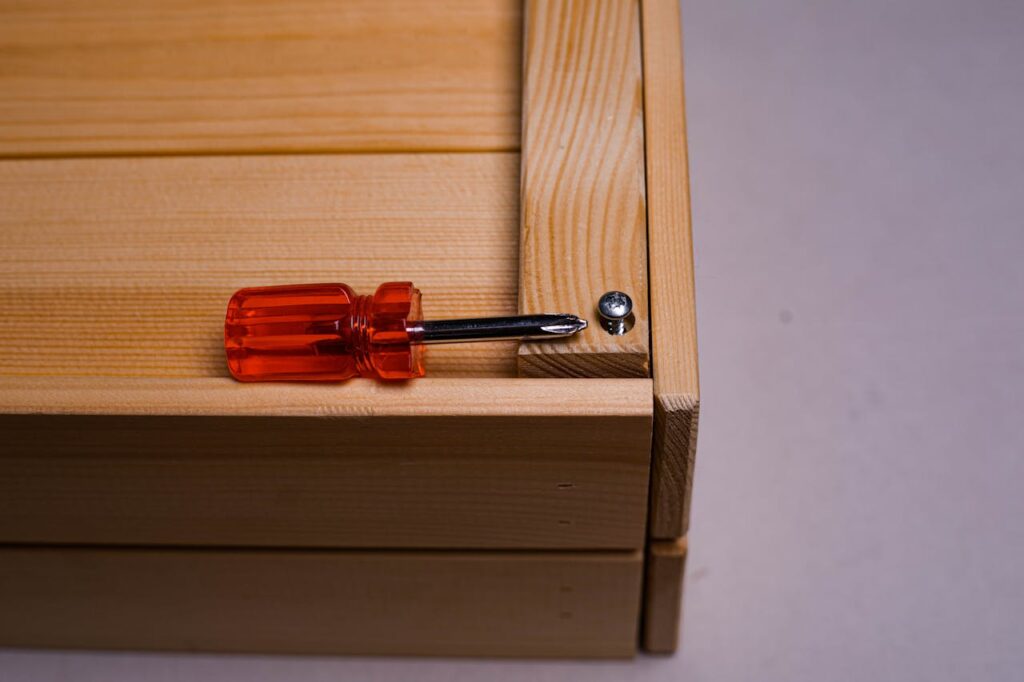
5. Using the Wrong Type or Size Screwdriver
Using the wrong tool can strip screws or damage parts. If you’re working on a small screw and use a big screwdriver, you might end up making the job harder—or impossible.
This is especially true for repairs involving tiny screws, like inside a control panel. Always pick the tool that matches. It’s comparable to using the right key to open a door—if it doesn’t fit, it won’t work.
- Use a screwdriver that matches the screw head exactly.
- Keep a small set of precision screwdrivers for tight spaces.
- Avoid stripping screws by using steady, gentle pressure.
- Magnetic tips can help hold tiny screws in place while you work.
6. Trying to Reseal Instead of Replacing Gaskets
A gasket is the rubber seal that keeps cold air inside your fridge or warm air inside your oven. Over time, gaskets can get hard, cracked, or loose. When that happens, your appliance has to work harder just to do its job.
Some people try to reseal a bad gasket with glue or tape. But that’s like putting a bandage on a leaky boat—it won’t hold for long. Replacing the gasket is the right move. It helps your appliance stay efficient and keeps energy costs lower.
- Gaskets wear out over time—replace instead of trying to patch them.
- Use a model-specific replacement to get a tight seal.
- Warm the new gasket slightly to make it more flexible during install.
- Clean the surface before placing the new gasket for a better hold.
7. Skipping the Check on the Power Source
It might sound simple, but always check if the appliance is getting power before you dig in. Sometimes, a machine stops working just because the plug came loose or the breaker tripped.
For example, if your dryer won’t start, make sure it’s plugged in and the outlet works. You’d be surprised how many people skip this step!
If the machine still doesn’t work, then it’s time to look deeper—maybe the compressor is having trouble or a part is worn out.
- Test the wall outlet with another device to make sure it works.
- Check the circuit breaker if the outlet has no power.
- Don’t assume the appliance is broken until you rule out power issues.
- Use a multimeter to test for voltage if you’re comfortable with it.
8. Ordering Parts Without Matching Model Numbers
Every appliance has a model number. It’s usually on a sticker somewhere on the back or inside a door. That number is super important. It tells you exactly which parts fit your machine.
If you order a part without checking the model number, it might not fit at all. And returning it can be a hassle. Always match the numbers first to avoid costly repairs down the line.
- Find the model number on a label inside or on the back of the appliance.
- Use the full model number when searching for replacement parts.
- Avoid “close enough” guesses—small differences can mean a bad fit.
- Save the original manual or take a photo of the label for future use.
9. Letting Water Contact Electrical Components
Water and electricity do not mix. If you’re cleaning or repairing something like a dishwasher or washing machine, be very careful.
Spilling water near wires or a control panel can cause serious damage. Even a few drops can lead to short circuits or sparks. That’s not just bad for the appliance—it’s dangerous. Always dry things off and keep water far away from anything electrical.
And don’t forget to use the right amount of detergent! Using too much can lead to leaks, which only adds to the mess.
- Dry your hands and work area before starting any repair.
- Don’t clean electrical parts with water—use a dry or slightly damp cloth.
- Keep wires and connectors away from any leaking or spilled water.
- Watch for signs of water damage during disassembly.
10. Disconnecting Wires Without Labeling Them

Inside many appliances, there are lots of wires. Some are red, some blue, some black—and they all go to different places. If you unplug them without labeling where they go, it’s easy to forget later.
A simple trick? Use masking tape to label each wire. That way, when it’s time to put things back together, you’re not guessing. It keeps everything running smoothly.
If your appliance is still under warranty, opening it up and moving wires around can sometimes cancel that warranty. So always check first before diving in.
- Use masking tape and a pen to label each wire before removing it.
- Snap a photo of the wiring setup as a backup reference.
- Only unplug one wire at a time, when possible, to stay organized.
- Keep wires separated by type to avoid mix-ups during reassembly.
11. Opening Dryers Without Cleaning the Lint Trap
Before you open up a dryer, always clean the lint trap. Lint builds up fast, and it’s a big fire risk. It also gets everywhere inside the dryer—making your repair messier and harder.
Think of lint like dust bunnies that sneak in and hide. If you skip this step, you might miss the real problem or even make things worse. Keeping it clean also helps the dryer work better and last longer.
- Empty the lint trap before opening the machine or starting any repair.
- Vacuum out lint from vents and inside areas to prevent blockages.
- Lint buildup can cause overheating—clean regularly for safety.
- Wear a dust mask if needed to avoid breathing in fine particles.
12. Reusing Damaged or Brittle Wire Connectors
Wire connectors are small, but they do an important job. They hold wires safely in place so power flows where it should.
If a connector looks cracked, worn, or stiff, don’t reuse it. Brittle ones can break without warning. And that can lead to sparks, shorts, or even an overload.
Using fresh connectors might cost a little more, but it helps your repair stay solid and safe. A strong connection means fewer problems down the road.
- Inspect connectors for cracks, discoloration, or stiffness.
- Replace old connectors with fresh ones for better safety and hold.
- Use wire nuts or terminal blocks rated for your appliance.
- Tug lightly on each connection to make sure it’s secure.
13. Overtightening Fittings Beyond Torque Specs
Just like with screws, fittings—like those on water lines or gas hoses—need a gentle touch. If you tighten them too much, you can strip threads, crack the part, or cause leaks.
Many appliances, like dishwashers or washing machines, have fittings that come with a torque spec—that means the amount of tightness that’s just right. Too loose, and it leaks. Too tight, and it breaks.
It’s kind of similar to tying your shoes. Too loose and they fall off. Too tight and your feet hurt! Aim for that perfect middle.
- Tighten fittings until snug—then just a small turn more.
- If the manual lists torque specs, use a torque wrench.
- Watch for signs of stress like cracking or thread damage.
- Apply thread sealant only if the instructions recommend it.
14. Skipping the Final Test After Reassembly
Once you put everything back together, it’s tempting to call it done. But don’t forget the final step—testing it!
Turn the appliance on and check that everything works. Listen for odd noises. Look for leaks. Make sure all buttons respond like they should.
Testing helps catch small mistakes before they turn into big problems. It also confirms your fix worked! This final check supports the longevity and efficiency of the machine and gives you peace of mind.
And remember—avoid using harsh chemicals during cleanup. Strong cleaners can damage surfaces, wear down seals, and cause problems later. A little soap and water usually does the trick.
- Plug the appliance in and test all functions before cleaning up.
- Watch and listen for any signs of trouble—rattling, leaking, or not starting.
- Run the appliance through a full cycle, if possible.
- Testing now can catch mistakes before they become costly fixes later.
Conclusion
Trying to fix your own appliances can be a smart move—if you do it safely and correctly. The key is knowing the most common appliance repair mistakes to avoid.
Many repair mistakes happen not because people don’t care, but because they didn’t know better. Now that you’ve learned about the most common errors, you’re already a step ahead.
Remember, it’s okay to ask for help when something feels too tricky. Being careful and well-informed is always better than rushing and hoping for the best.
Stay safe, be patient, and trust your instincts—you’ve got this!
FAQs
1. What appliance breaks down the most?
The refrigerator is one of the most common household appliances to break down. Its coils can get dirty, causing increased energy consumption and premature wear and tear. Regular cleaning every six months helps keep it running smoothly.
2. How much do appliance repair technicians charge per hour?
Repair costs usually range from $50 to $150 per hour, depending on location and the complexity of the repair. Professional appliance repair can save money by fixing issues promptly before they cause a breakdown.
3. Should I tip the appliance repairman?
Tipping is optional. Many homeowners tip if the repair service is excellent or if the technician went above and beyond. A small tip can show appreciation, especially for quick and professional work.
4. What is the 50 50 rule for appliances?
The 50 50 rule helps decide to repair or replace an appliance. If repair costs are less than 50% of the appliance’s value and it’s under 50% through its lifespan, repairing makes sense. Otherwise, replacement might be better.
5. Can a freezer be too full when it comes to energy efficiency?
Yes! Overloading a freezer blocks airflow, forcing the machine to work harder, increasing energy bills and wear and tear. Follow the manufacturer’s recommended load capacity for optimal performance.
6. How Can I Avoid Mistakes During My Fridge Repair?
Avoid common appliance maintenance mistakes like neglecting to clean refrigerator coils, ignoring unusual noises, and skipping regular maintenance. Follow the manufacturer’s recommendations and address issues promptly.
7. Is DIY repair always safe?
DIY repair can be safe if you follow safety steps like unplugging the appliance, avoiding water near electrical parts, and not forcing components. For complex issues, professional appliance repair is safer and can prevent costly repairs.
8. Is it Time to Repair or Replace?
If your appliance frequently malfunctions and repair costs are high, it might be time to replace it. Ignoring issues can shorten the lifespan and increase energy consumption. Regular maintenance helps extend use but know when to upgrade.
9. What are common reasons household appliances malfunction?
Many homeowners unknowingly make mistakes like ignoring clogged drains, failing to clean spray arms, or neglecting dryer vent maintenance. These cause breakdowns and increased energy costs.
10. How often should I clean my dryer vent?
Clean your dryer vent every six months to prevent lint buildup, which can pose a fire hazard and cause premature wear and tear. Regular cleaning improves airflow and efficiency.
11. Why is regular maintenance important for kitchen and laundry appliances?
Regular maintenance prevents food debris buildup, clogged drain lines, and worn parts. It ensures your oven’s and washer’s optimal performance, reducing repair bills and extending lifespan.
12. What common appliance maintenance mistakes do homeowners make?
Homeowners often forget to unplug appliances, ignore unusual smells, reuse damaged parts, or use harsh chemicals like bleach that can damage seals and shorten appliance life.
13. How does neglecting to replace worn parts affect appliances?
Neglecting to replace worn parts increases repair costs over time, causes malfunctions, and can pose safety risks. Replacing parts when needed helps avoid premature breakdown and keeps machines running efficiently.
14. Can clogged drain lines affect a dishwasher’s performance?
Yes, clogged drain lines cause water to back up, reducing cleaning power and possibly causing leaks. Regular cleaning of spray arms and drain lines helps maintain functionality and efficiency.
15. How do I keep my refrigerator’s energy consumption low?
Keep refrigerator coils clean and avoid overloading the fridge. Follow the manufacturer’s guidelines for temperature settings and load capacity to prevent increased energy consumption and wear and tear.