Adding a dishwasher to your kitchen can be a game changer, saving time and making daily clean-up less of a hassle. But before you rush to unbox your new appliance, it’s worth understanding the process and what it truly involves. Let’s break down the essentials, from preparation to installation tips that’ll make your life easier.
What to Consider Before You Start

Measuring Your Space
Before purchasing a dishwasher, measure the space where you plan to install it. Standard dishwashers are usually about 24 inches wide, but compact models for smaller kitchens also exist. Double-check the depth and height as well—no one wants a dishwasher that sticks out awkwardly or won’t fit under the counter.
Electrical and Plumbing Access
It’s important to ensure that your chosen spot has access to a power outlet and both hot water and drain lines. Most dishwashers plug into a standard outlet and require a connection to your sink’s plumbing. If you’re replacing an old dishwasher, you likely already have the right connections. For first-time installations, however, you might need a professional to set up the plumbing or electrical outlets.
Gathering the Right Tools and Materials
Having the right tools on hand can make the installation process much smoother. At a minimum, you’ll want:
- Adjustable wrench
- Screwdrivers (both flathead and Phillips)
- Level
- Pliers
- Teflon tape
- Dishwasher installation kit (hoses, clamps, etc.)
It’s better to have everything ready rather than making a frantic hardware store run mid-installation.
Step-by-Step Dishwasher Installation

1. Prepare the Area
Start by turning off the power at the circuit breaker and shutting off the water supply. If you’re swapping out an old machine, disconnect it carefully, keeping a towel nearby for any water spills.
2. Position the Dishwasher
Slide the dishwasher into place, but don’t push it all the way in yet. Connect the water supply line and drain hose according to the manufacturer’s instructions. Make sure the hoses aren’t kinked or twisted, as this can lead to leaks.
3. Secure and Level
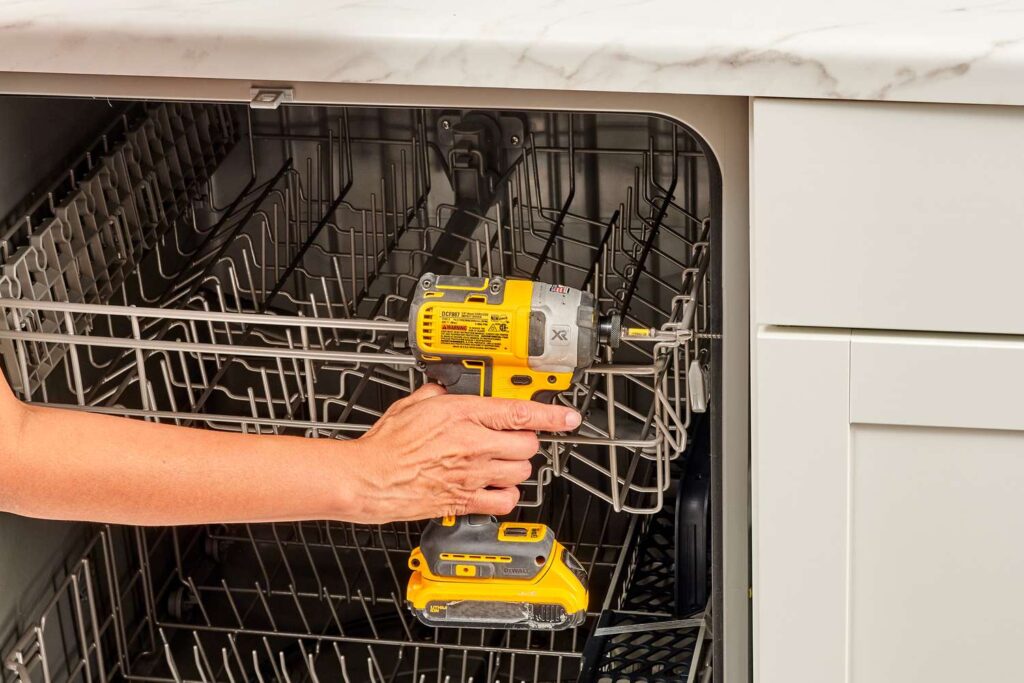
Use a level to ensure the dishwasher is sitting evenly—this is a small detail, but it matters. If the appliance isn’t level, it might not drain properly. Secure the dishwasher to the underside of your countertop using the provided mounting brackets.
4. Connect Electrical Wiring
Carefully connect the electrical wires. If you’re unsure about this part, it’s best to call a qualified electrician. Safety should always come first.
5. Test for Leaks
Turn the water and power back on, and run a quick wash cycle with no dishes inside. Check for leaks around the connections and under the dishwasher. If you spot any drips, tighten the fittings as needed.
Common Mistakes to Avoid
It’s easy to get tripped up during installation—here are a couple of pitfalls to steer clear of:
- Forgetting to remove the knock-out plug in the garbage disposal inlet if you’re connecting the dishwasher drain hose there.
- Not using a high loop or air gap in the drain hose, which can cause dirty water to back up into your dishwasher.
- Failing to read the manufacturer’s instructions—every model is a bit different.
When Should You Call a Professional?
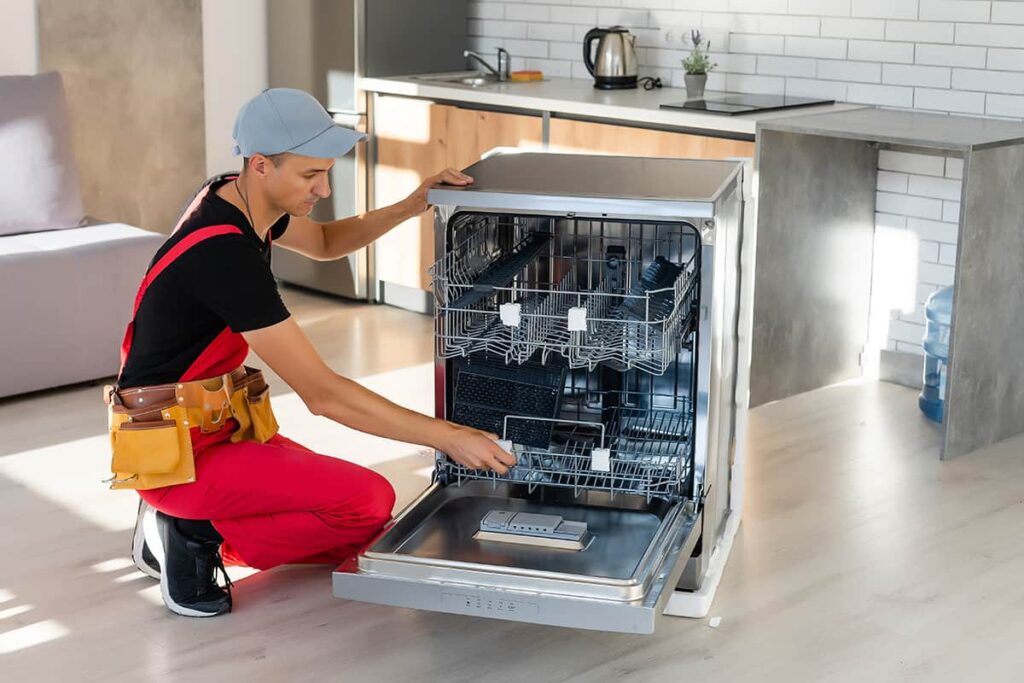
While handy homeowners can often tackle dishwasher installation themselves, don’t hesitate to call in a pro if you’re unsure about electrical or plumbing work. Sometimes, it’s just not worth the risk.
Final Thoughts
Installing a dishwasher isn’t rocket science, but it does require a bit of planning, some elbow grease, and a few common tools. Take your time, follow the steps, and soon enough, you’ll be enjoying the sweet sound of sparkling clean dishes—without having to lift a finger.


