
When it comes to tackling home repairs—especially those involving electricity—a multimeter can be your best friend. While it might look intimidating at first, this handy tool helps you measure voltage, current, and resistance, making it easier to troubleshoot problems around the house. Let’s break down how to use a multimeter step by step, so you can feel confident next time you need to check an outlet or repair a household device.
What Is a Multimeter?
A multimeter is a versatile instrument used to measure electrical values. You’ll usually find two main types: analog and digital. The digital multimeter is more common these days, mostly because it’s easier to read and more accurate. Whether you’re a seasoned DIY enthusiast or just trying to fix a flickering lamp, understanding this tool is a game-changer.
Essential Multimeter Functions
Measuring Voltage

Voltage is the electric potential between two points. To measure it, turn your multimeter’s dial to the “V” setting. Place the black probe in the “COM” port and the red probe in the “VΩmA” port. Touch the probes to the two points you want to measure, such as the two slots of a wall outlet. The number on the screen shows you the voltage—most homes in the U.S. will read around 120V.
Measuring Resistance

If you’re checking fuses or light bulbs, you’ll want to test for resistance, shown by the omega (Ω) symbol. With the device unplugged, place your probes on either side of the component. A very high or infinite reading usually means the part is faulty and should be replaced.
Measuring Current

Measuring current (amps) is a little trickier and not always needed for basic home repairs. If you do need to check current, move the red probe to the “10A” port and select the appropriate setting. The circuit must be open, so you’ll need to insert the meter in series with the device you’re testing. Unless you’re sure, avoid this test with high-voltage appliances—it’s easy to make a mistake.
Step-by-Step: Using a Multimeter for Simple Home Repairs
- Safety First: Always turn off power before working on any circuit. Use insulated gloves if you’re unsure.
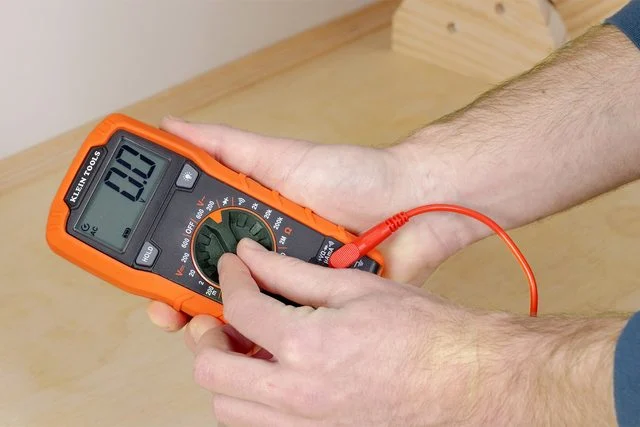
- Set Up Your Multimeter: Select the function you need (voltage, resistance, or current) with the dial.
- Insert Probes: Make sure the black probe goes into “COM” and the red into the correct port for your measurement.
- Take the Reading: Hold the probes steadily. Read the display for your result.
- Interpret the Result: For instance, if you’re testing an outlet and get no reading, you might have a blown fuse or a wiring issue.
Troubleshooting Common Household Issues
- Faulty Outlets: If an outlet isn’t working, measure the voltage across its terminals. No reading? Check your circuit breaker or fuse box.
- Broken Cords or Switches: Use the resistance setting to see if there’s continuity. No continuity means a break somewhere in the circuit.
- Appliance Problems: Some household gadgets stop working because of a blown fuse or loose wire. A quick test with your multimeter can pinpoint the issue in seconds.
Safety Tips to Keep in Mind
- Never touch the metal parts of the probes during testing.
- Always start with the highest range if your meter is not auto-ranging.
- Double-check your settings to avoid damaging the meter or hurting yourself.
Final Thoughts
A multimeter isn’t just for electricians—it’s a practical tool that every homeowner can learn to use. With a little patience and practice, you’ll be able to diagnose and fix minor electrical problems around your house. Who knows, you might even start enjoying those DIY fixes!