Fixing things yourself can feel like a superpower. When an appliance in your home breaks, it can be frustrating and expensive to call for help.
But guess what? Many common problems are easier to fix than you might think! This guide will show you how to spot simple issues and repair some appliances all on your own. With just a few tools and a bit of patience, you can save time and money.
Plus, it feels great to solve a problem by yourself—like being your own handyman or handywoman! Let’s dive in and learn some easy DIY appliance repairs you can safely handle at home.
Key Takeaways
- Many common appliance problems are simple and safe to fix at home.
- Always unplug the appliance before starting any repair to stay safe.
- Basic tools like screwdrivers and pliers can handle most small jobs.
- Checking the appliance manual or online videos can make repairs easier.
- If a repair feels too hard or dangerous, it’s okay to ask a professional for help.
Why You Don’t Always Need a Professional
Sometimes, when an appliance stops working, your first thought might be, “I need to call a repair person.” But hold on—many problems don’t need an expert! You don’t always need to spend money or wait for someone to come over.
Think of it like this: If your bike chain falls off, you don’t need to take it to a bike shop every time. You can fix it yourself with a little patience.
Appliances are similar. Some fixes are simple, like changing a filter, tightening a loose screw, or cleaning a part.
Many appliance problems happen because of small, easy-to-find issues. For example, a dryer might not dry clothes well because the lint trap is clogged. Or a fridge might be too warm because the door didn’t close all the way. These are things you can check and fix yourself.
Of course, if you ever feel unsure or if the problem is more serious, it’s smart to call a professional. But knowing the basics helps you decide when you can try fixing things on your own.
Plus, it saves you time, money, and sometimes even a little embarrassment (like realizing your fridge was just unplugged!).
Basic Tools and Safety Tips for DIY Appliance Repair
Before you start fixing, it’s important to have the right tools and know how to stay safe. Just visualize trying to build a puzzle without seeing the pieces clearly. Tools are your helpers—they make the job easier and safer.
Here are some basic tools you’ll need for most repairs:
- Screwdrivers (both flathead and Phillips) to open panels and remove screws
- Pliers to grip and twist parts
- Wrenches to tighten or loosen nuts and bolts
- Multimeter (optional) to check electrical parts if you want to get fancy
- Flashlight to see inside dark spaces
Now, safety first! Always follow these simple rules:
- Unplug the appliance before you start. Electricity is powerful and can hurt you if you’re not careful.
- Read the manual to know how your appliance works and find any safety warnings.
- Wear gloves if you’re dealing with sharp edges or dirty parts.
- Work in a clean, dry area to avoid slips or shocks.
- Take your time. Rushing can cause mistakes or injuries.
With the right tools and caution, you’re ready to take on just about most home appliance repairs.
Now, let’s move onto some DIY appliance repairs you can take on.
DIY Appliance Repairs: What You Can Fix Yourself
Many common appliance problems can be fixed at home without calling a technician. With some basic tools and a little know-how, you can handle small repairs yourself.
This saves money and gets your household appliances working again faster.
Below are simple, practical tips for 17 easy DIY appliance repair fixes you can try on your own.
Replace a Clogged Dishwasher Filter to Improve Cleaning
If your dishwasher isn’t cleaning dishes well, the filter might be clogged. The filter catches food bits during washing. When it gets blocked, water can’t flow properly, and your dishes stay dirty.
To fix this, open the bottom of your dishwasher and remove the filter. Wash it with warm water and a soft brush. Putting a clean filter back helps your dishwasher run smoothly and saves you a call to a technician.
- Locate the filter at the bottom of the dishwasher and remove it carefully.
- Rinse the filter under warm water to clear food particles and debris.
- Use a soft brush to scrub away any stubborn buildup on the filter.
- Replace the filter securely before running your next dishwasher cycle.
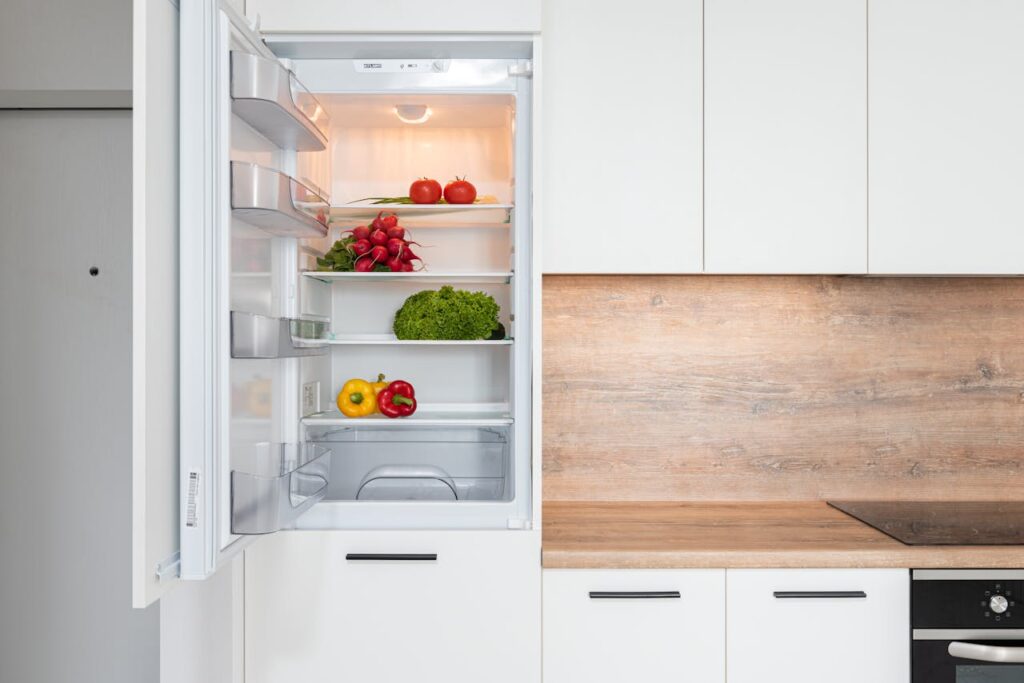
Clean Refrigerator Coils to Boost Cooling Efficiency
Your refrigerator has coils on the back or bottom that help keep it cold. When dust builds up on these coils, the fridge has to work harder and uses more energy.
Cleaning the coils is easy. Unplug the fridge and use a vacuum or brush to clear away dust. This simple step helps your refrigerator cool better and saves energy. You don’t need to diagnose a complicated problem—just clean the coils regularly.
- Unplug your refrigerator before starting any cleaning.
- Find the coils on the back or underneath the fridge.
- Use a vacuum cleaner with a brush attachment to remove dust and dirt.
- Clean coils every six months to maintain energy efficiency.
Unclog a Washing Machine Drain Hose to Stop Leaks

If your washer is leaking water, the drain hose might be clogged. The hose removes water during the wash cycle. When it is blocked, water can leak onto the floor.
To fix this, unplug the washer and check the hose for any kinks or blockages. You may need to remove it and rinse it out. This quick fix can stop leaks and avoid a call to a technician.
- Unplug the washing machine to ensure safety.
- Locate the drain hose and check for any kinks or sharp bends.
- Disconnect the hose and flush it with water to remove clogs.
- Reattach the hose firmly to prevent leaks during operation.
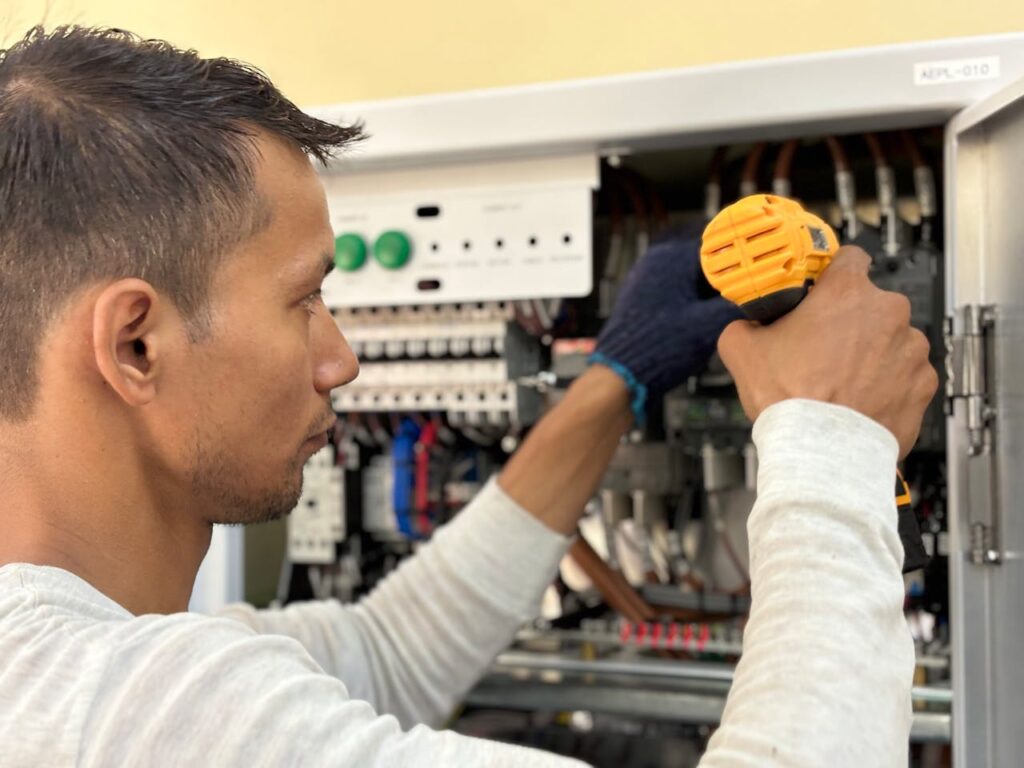
Reset a Tripped Circuit Breaker to Restore Power
Sometimes, appliances like your oven or washer stop working because the circuit breaker trips. The breaker is a switch that stops power to prevent damage.
Find your home’s breaker box and look for any switches that are off or in the middle. Flip the switch back on, and power should return to your appliance. This reset often fixes the problem quickly.
- Find your home’s circuit breaker panel.
- Look for any breaker switch that is in the “off” or middle position.
- Flip the breaker switch firmly to the “on” position.
- Test the appliance to see if power has been restored.
Replace Dryer Lint Screen to Prevent Overheating
A clogged lint screen in your dryer can cause it to overheat and take longer to dry clothes. The lint screen catches bits of fabric and dust.
Remove and clean or replace the lint screen regularly. This helps air flow properly and keeps your dryer working safely. It’s an easy repair you can do yourself and may prevent the need for a technician.
- Locate the lint screen in your dryer door or top panel.
- Remove the screen and clean off all lint with your hand or a soft brush.
- Inspect the screen for damage; replace it if worn or torn.
- Always clean the lint screen before or after each use.
Fix a Loose Refrigerator Door Seal for Better Cooling
A loose refrigerator door seal can let cold air escape. This makes your fridge work harder and can raise your electricity bill. To check the seal, close the door on a piece of paper. If you can pull the paper out easily, the seal might be loose or damaged.
You can often fix this by cleaning the seal with warm, soapy water and a cloth. If it’s still loose, you may need to replace the seal. This is a common problem that many people fix themselves with the right knowledge and tools. Fixing the seal helps your refrigerator stay cold and saves energy.
- Close the door on a dollar bill or piece of paper to test the seal.
- If the paper slides out easily, clean the seal with warm, soapy water.
- Dry the seal completely and check for any tears or cracks.
- Replace the seal if cleaning doesn’t improve the fit.
Clear Oven Door Hinges for Proper Closing
If your oven door doesn’t close properly, it can cause heat to escape and affect cooking. Dirt or food buildup on the door hinges can stop the door from closing all the way.
Start by turning off the oven and letting it cool. Then, clean the hinges with a damp cloth and some mild soap. Wipe away any crumbs or grease that might be stuck. This simple step is part of troubleshooting common issues with modern appliances and can prevent the need for professional appliance repair.
- Make sure the oven is cool and unplugged before you start.
- Wipe down the door hinges with a damp cloth to remove dirt and grease.
- Apply a small amount of food-safe lubricant to the hinges.
- Open and close the door several times to spread the lubricant evenly.
Replace a Faulty Garbage Disposal Switch Safely
A broken switch on your garbage disposal means it won’t turn on. Replacing the switch is a small job but needs care to stay safe.
First, unplug the disposal or turn off the power at your breaker box. Then, remove the old switch by unscrewing it from the wall or sink. Install the new switch by following the instructions that come with it. If you’re not comfortable working with electricity, it’s smart to call a professional.
Replacing a faulty switch is a good example of simple appliance fixes that can be done safely at home with the right tools.
- Turn off power to the garbage disposal at the circuit breaker.
- Remove the old switch carefully using a screwdriver.
- Install the new switch following the manufacturer’s instructions.
- Restore power and test the disposal before finishing up.
Tighten Washing Machine Drum Bolts to Reduce Noise
If your washer is making loud noises or shaking a lot, the drum bolts might be loose. These bolts hold the drum in place inside the machine.
Unplug your washer and remove the back panel to find the bolts. Use a wrench or socket tool to tighten them carefully. Be sure not to over-tighten, or you could cause damage. This fix is part of regular care for household appliances and helps your washer work quietly and smoothly.
- Unplug the washing machine for safety.
- Remove the back panel to access the drum bolts.
- Use a wrench to tighten any loose bolts carefully.
- Avoid overtightening to prevent damage to the drum or machine.
Clean Dryer Vent Duct to Prevent Fire Hazards
A clogged dryer vent duct can cause your dryer to overheat, which is a fire hazard. Lint builds up in the duct over time and blocks airflow.
To clean it, unplug the dryer and disconnect the vent hose from the back. Use a vacuum or a dryer vent brush to remove lint inside the hose and vent opening. This is one of the most important appliance fixes for safety and efficiency. Regular cleaning keeps your dryer working well and reduces the risk of fire.
- Disconnect the dryer from the power source.
- Detach the vent duct from the back of the dryer.
- Use a vacuum or vent brush to remove lint and debris inside the duct.
- Reconnect the duct securely and clean it regularly.
Replace Fridge Water Filter to Improve Taste
If your refrigerator water doesn’t taste fresh, it might be time to replace the water filter. Over time, filters get clogged with dirt and minerals. This can cause bad tastes and reduce water flow.
To replace the filter, first find where it’s located—usually inside the fridge or at the base. Remove the old filter by twisting or pulling it out. Then, insert the new replacement part and follow the instructions to secure it. This simple step can make your water taste better and keep your fridge working well.
- Locate the water filter inside your refrigerator or at the base.
- Remove the old filter by twisting or pulling it out.
- Insert the new filter according to the instructions.
- Run water through the dispenser for a few minutes to clear air and impurities.
Unclog Dishwasher Spray Arms for Better Water Flow
When your dishwasher isn’t cleaning well, the spray arms might be clogged. These arms have tiny holes that spray water to clean dishes. Food particles or hard water can block these holes.
To fix this, remove the spray arms and rinse them under running water. Use a toothpick or small brush to clear out any clogged holes. After cleaning, reassemble the spray arms and put them back in place. This easy fix helps your dishwasher clean better and stops malfunctions.
- Remove the spray arms by unscrewing or pulling them out.
- Rinse under warm water to remove food particles and buildup.
- Use a toothpick or small brush to clear blocked holes.
- Reinstall the spray arms securely before running the dishwasher.
Fix a Broken Microwave Turntable Motor
If the turntable in your microwave doesn’t spin, the motor might be broken. This motor moves your food around so it cooks evenly.
Start by unplugging the microwave for safety. Remove the turntable and check the motor under it. If it’s damaged, you’ll need to replace it with a new motor, which is a common replacement part. Fixing the motor yourself can save a call to an appliance repair service, but if the electronics inside look damaged, it’s better to get professional help.
- Unplug the microwave before starting any work.
- Remove the turntable and inspect the motor underneath.
- Replace the motor if it’s damaged or not working.
- Reassemble the parts carefully and test the microwave.
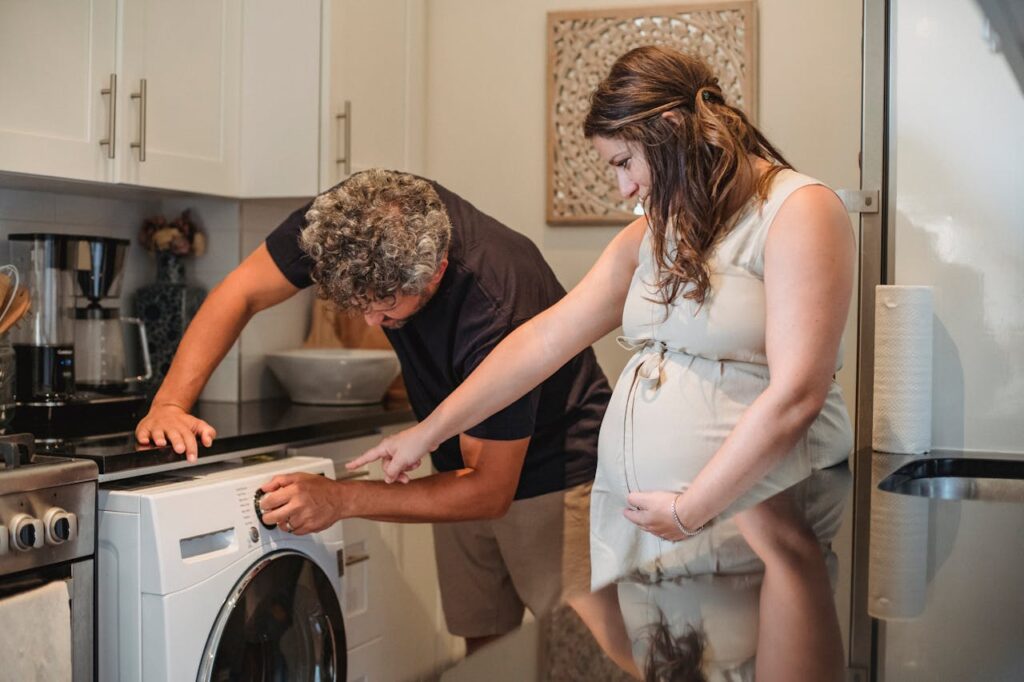
Replace a Worn Dryer Belt to Restore Rotation
A dryer that doesn’t spin usually has a worn or broken belt. This belt turns the drum inside the dryer.
To replace it, unplug the dryer and open the front panel. Take out the old belt and put the new one around the drum and motor pulley. Then, reassemble the dryer parts carefully. This fix restores your dryer’s rotation and helps your clothes dry faster.
- Disconnect the dryer from power.
- Open the dryer cabinet to access the belt and drum.
- Remove the old belt and fit the new one around the drum and motor pulley.
- Reassemble the dryer parts and test for smooth rotation.
Clean Refrigerator Drip Pan to Avoid Odors
Your refrigerator has a drip pan underneath that collects water. If it gets dirty, it can cause bad smells in your kitchen.
To clean it, unplug the fridge and slide out the drip pan. Wash it with warm, soapy water and dry it well before putting it back. This simple step keeps your kitchen smelling fresh and prevents problems caused by standing water.
- Unplug the refrigerator before removing the drip pan.
- Slide out the drip pan located at the base of the fridge.
- Wash the pan with warm, soapy water and dry thoroughly.
- Replace the pan and check it regularly for buildup.
Replace a Faulty Washing Machine Lid Switch
If your washing machine won’t start or stops mid-cycle, the lid switch could be faulty. This switch tells the washer if the lid is closed, so it runs safely.
Unplug the machine and remove the control panel to access the switch. Take out the broken switch and replace it with a new replacement part. Putting the machine back together carefully will get it working again.
- Unplug the washing machine before starting.
- Remove the control panel to access the lid switch.
- Detach the faulty switch and install a new one.
- Reassemble the panel and test the machine for proper operation.
Lubricate Oven Door Hinges for Smooth Operation
If your oven door is stiff or hard to open, the hinges might need lubrication. This helps the door move smoothly without creaking or sticking.
Use a small amount of food-safe lubricant on the hinges. Open and close the door a few times to spread it evenly. This easy fix improves how your oven door works and can prevent damage over time.
- Make sure the oven is cool and unplugged.
- Clean the door hinges to remove any dirt or grease.
- Apply food-safe lubricant to the hinges.
- Open and close the door several times to spread the lubricant evenly.
Conclusion
Now that you know a little more about fixing appliances yourself, you might see those broken gadgets in a new light.
Not every problem needs a professional, and with some careful steps, many repairs are possible right at home. Remember to take your time, follow safety tips, and know your limits.
When you fix things yourself, you gain confidence, save money, and keep your appliances working longer.
So go ahead—roll up your sleeves and give it a try!
FAQs
1. What is the hardest appliance to repair?
The hardest appliance to repair is often the HVAC system due to complex electronics and parts. It’s best to seek professional repair help for HVAC repairs to avoid costly mistakes.
2. Is it worth fixing old appliances?
Fixing old appliances can be worth it if repair parts are affordable and the appliance is under warranty. DIY repair can save money, but major appliances may need professional repair if repairs become frequent.
3. What is the 50 50 rule for appliances?
The 50 50 rule means if the repair cost is more than half the price of a new appliance, it’s better to replace it. This helps you decide when to repair or buy new.
4. How much do appliance repair technicians charge per hour?
Technicians usually charge $50 to $150 per hour. Prices depend on repair needs, location, and appliance type. DIY repair can save you these fees if you feel comfortable fixing small problems.
5. Can I repair my appliance myself?
Yes! Many appliance repairs, like fixing a leaky dishwasher or replacing heating elements, are doable with repair parts and step-by-step instructions. Always follow safety guidelines.
6. What tools do I need for DIY appliance repair?
Basic tools include screwdrivers, wrenches, pliers, and sometimes a multimeter. Having the right repair parts and a guide to learn how to fix your appliance helps too.
7. How do I know if I need a professional repair?
If your appliance has complex electronics, like in GE appliances or HVAC systems, or if you don’t feel confident, call a repair professional to avoid damage or injury.
8. How do I ensure my appliances last longer?
Regular cleaning, using proper repair parts, and addressing small issues early help keep your appliances in good shape. Follow manufacturer’s instructions and check your appliance warranty.
9. Can I use generic repair parts for my appliance?
Generic parts may work but can affect warranty or performance. It’s best to use manufacturer-recommended repair parts for major appliances like laundry machines and air conditioners.
10. How often should I clean my appliances?
Clean appliance coils and vents every 6 months to maintain efficiency. Also, regularly clean dryer lint screens and dishwasher filters to avoid malfunctions.
11. What are common repairs for laundry machines?
Common repairs include replacing worn belts, fixing lid switches, and unclogging drain hoses. Many fixes involve simple steps and available repair parts.
12. How do I fix a leaky dishwasher?
Check door seals and clogged filters first. Replacing worn seals or cleaning filters often stops leaks. For major leaks, call an appliance repair help professional.
13. What safety tips should I follow during DIY repair?
Always unplug your appliance before repairs. Use gloves and safety glasses. Follow step-by-step guides, and don’t work on electrical parts if unsure.
14. How can I diagnose appliance problems?
Listen for unusual sounds, check error codes, and inspect parts like heating elements or belts. Repair help websites often have troubleshooting guides for common issues.
15. Can I get repair help under my appliance warranty?
Yes! Many warranties cover repair parts and professional repair for certain issues. Always check your warranty terms before starting DIY repair or hiring a professional.